
Epic Vegan Pressure Canning Session
One of my kids asked me to teach him how to can. He saw it, as I do, as a part of survival prepping. I’m not a huge prepper, but I think it should be at least a small part of your life if you live in the Midwest in the 21st century. It’s interesting and scientific and could keep your family alive AND healthy in an emergency. So anyway, I taught him. I haven’t been doing it myself too long but a solid understanding of science, a lifetime of cooking, an awesome online group, and a husband to physically hide behind when I started, helped me progress quickly. My kids knows how to do it safely now, as do I. It might not be a hobby he will take up but it’s something he will understand fundamentally, for ever, and hopefully have great memories of.
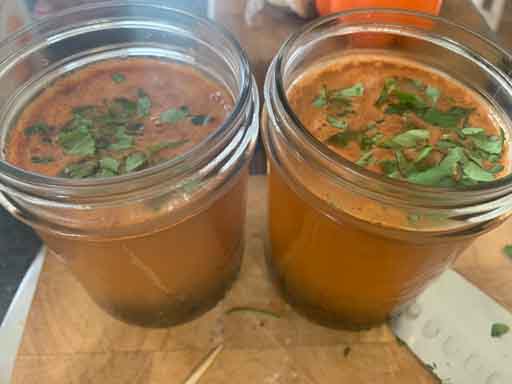
The following food is all raw packed, meaning nothing is pre-cooked. Every jar is individually filled and cooking happens within the jar. I have done extensive experimentation and taste testing and it’s simply not worth pre-cooking these foods from my point of view. Each to their own.
Why Can Food?
-
- To store it for future use.
- To preserve an excess of produce.
- For individual meals if someone is home alone or unable to cook for whatever reason.
- For convenience. On ‘those days’ you don’t have to reach for the heavily processed ‘back-up’ food or grab a take out. It’s already made.
- For flavour. It enhances the flavour of many things actually.
- For traveling. We take it to cabins, camping, picnics wherever we might want some food overnight. It’s a lot easier and safer than taking a load of fresh ingredients.
- For prepping. When the zombies come I’m eating regardless.
Notes on Safety
-
- The NCHFP, USDA, CDC have a bunch of rules. Maybe it’s easier for me to stray from them as I’m not American. Most people are not American. There are no global rules. Think about that. Then watch this awesome woman (It is definitely NOT vegan).
- If my introduction to pressure canning had been anything other than Canning Rebels on Facebook, I wouldn’t have bothered. I am not going to use an ‘approved recipe’ which incidentally almost always seems to come from the University of Minnesota. Why would I do that? I guarantee (I’ve read the recipes) that my food is tastier than theirs and probably most other people’s are tastier than theirs too. I’ve looked at the science. I understand how it works. On top of this I’m a vegan and we just aren’t catered for by their ‘approved’ recipes, so there’s that. I’m doing my own science and I’m pretty confident in it.
- Botulism. The CDC actually has a page dedicated to botulism for home canning. There are around 10 outbreaks a year in the USA potentially due to home canning, not deaths. It’s extremely rare and I would hazard a guess that every single case is due to some serious misadventure. If the food you are eating is to be heated, botulism is killed by boiling. From the University of California: “botulinum spores can be killed by heating to extreme temperature (120 degrees Celsius) under pressure using an autoclave or a pressure cooker for at least 30 minutes. The toxin itself can be killed by boiling for 10 minutes.” My canning consists of low and high acid food that needs to be re-heated and high acid food that is eaten cold so this is a nothing burger for me.
- Mold. You are going to know if you have mold. It’s no different than with any other kind of food in your house. The lid will come loose and you will see it.
The Canner
-
- Canner vs. water bathing. I have a 23 quart canner. It cost about $80. In hindsight I would probably have preferred a smaller one but it’s a good canner. I use the pressure gauge rather than weights but I’m considering weights instead. I have also used it to water bath because It’s a massive pan all on it’s own. To do this I remove the jiggler and the rubber plug and carry on as if it’s a big pan, which it is. I know anything that can be pressure canned can also be water bathed because … the rest of the world. I’ve chosen to mostly pressure can for my own reasons.
- The canning rack. I dont know why my canner came with only one canning rack. I did a couple of batches by stacking the jars, but investing in a second canning rack is worth it. If you don’t have a canning rack you need to put something on the bottom of the canner whether pressure canning or water bathing. I have used a steamer rack but you can also use a folded tea towel.
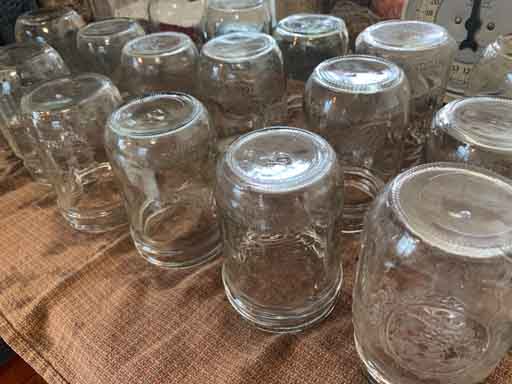
Jar and Lid Preparation 
- Types of jar. I always use pint jars. I have a mixture of Ball and Kerr jars. I prefer wide mouth jars by far but they aren’t always the easiest to find and they are more expensive. My canner holds 20 regular mouth pint jars but only 16 wide mouth jars. I put in a mixture for this canning session and did 18 jars with all regular on the bottom layer and a mix on the top layer.
- Prepping jars. They are going to cook at 240 to 250 degrees fahrenheit. I’m not sterilizing them. I wash them carefully by hand or in the dishwasher. That’s fine for me.
- Same goes for the lids. I check the lids are good to use, mark any crappy ones with a red x and use them for dry storage or freezer, and throw away anything going rusty.
- The bands aren’t going to touch the food apart from siphoning. wash them and throw away rusty ones. You will soon have more bands than you know what to do with.
- types of lid.
- Brand lids
- Ball / Kerr etc… come with the new jars or bought in packs.
- Hard to find sometimes.
- More expensive.
- Work well with a low fail rate.
- Bulk lids
- Cheap.
- Higher fail rate.
- Work fine on the whole.
- Variable.
- Re-usable lids
- Harvest Guard / Tattler.
- More expensive.
- Slight learning curve.
- No satisfying popping.
- Last for a really long time.
- Brand lids
- Re-using lids. I do this. It’s naughty I’m told. I actually got my kids microscope out to look at the used ones compared with the new ones. It’s not about how many times you re-use it, it’s about is it damaged or not? If it looks fine it’s fine. I checked this for myself. If you d reuse lids you might have a higher fail rate and you might not. I had two fails in the last batch. None were the re-used lids. The fails will be an unsealed lid but the band should have held it in place so either way, this kind of fail simply means you have a couple of jars in the fridge to eat over the week. That’s it. It doesn’t matter that much.
- Jar and lid preparation. Wash them, rinse them, and sit them to dry on a clean tea towel.

Recipes
- See below or use your own. Or the NCHFP.
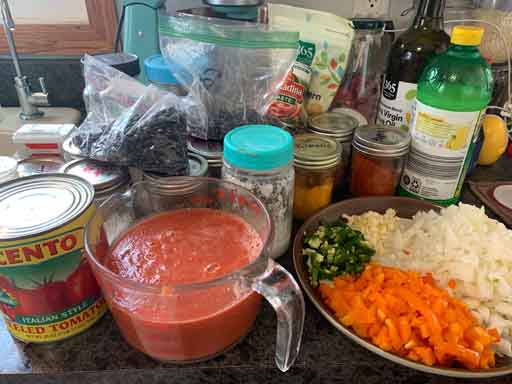
Ingredients – mise en place
- Get all your spices, condiments and dry foods out.
- Prepare a selection of cups and tablespoons (this is where the American measuring system really shines).

Ingredients Preparation
- pre-chop your veggies and herbs and other fresh foods. I would say that’s it.
Jar Filling
-
-
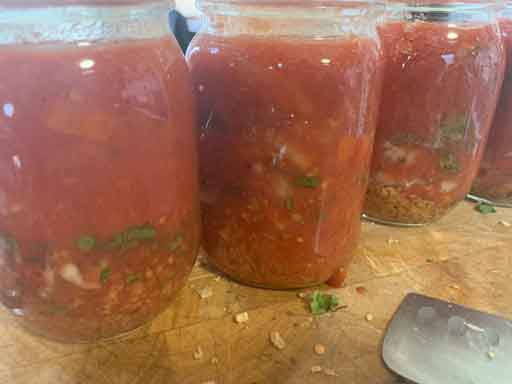
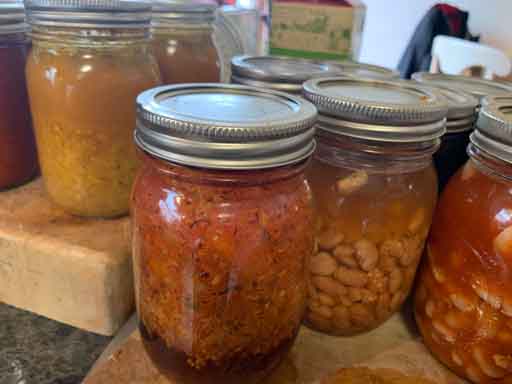
- Fill the jars with your raw ingredients.

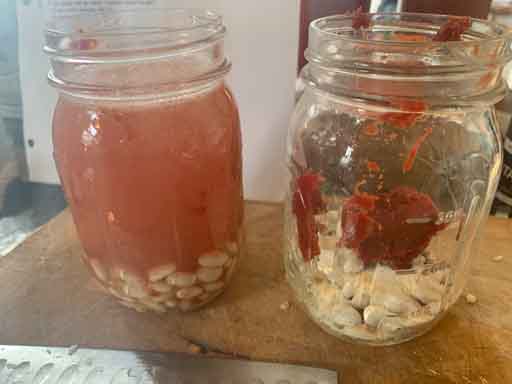
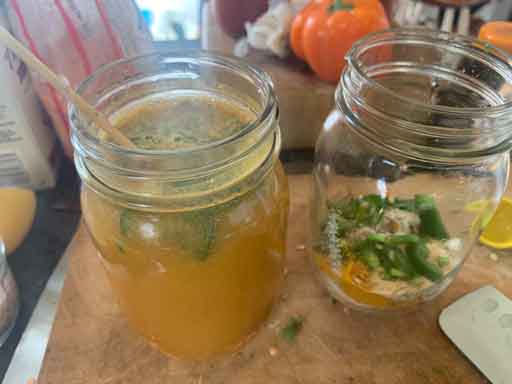
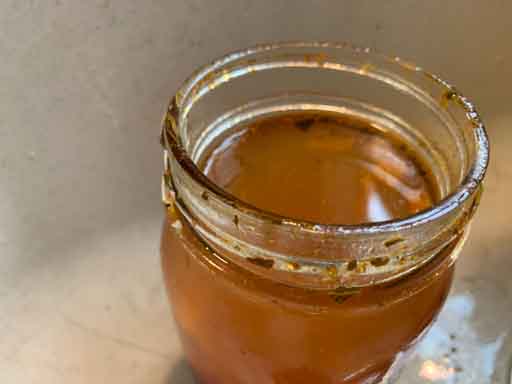
- Clean the rims of the jars with a paper towel. Some people use vinegar. I don’t and I that’s all I have to say about that.
- Headspace. I generally fill to an inch of the top of the jar. This inch is called the headspace.
- Stir the ingredients. You don’t have to but I have found it helps with consistent cooking and also removes air bubbles. Top up the headspace if necessary.
-
Bringing the Canner to Pressure
-
-
-
-
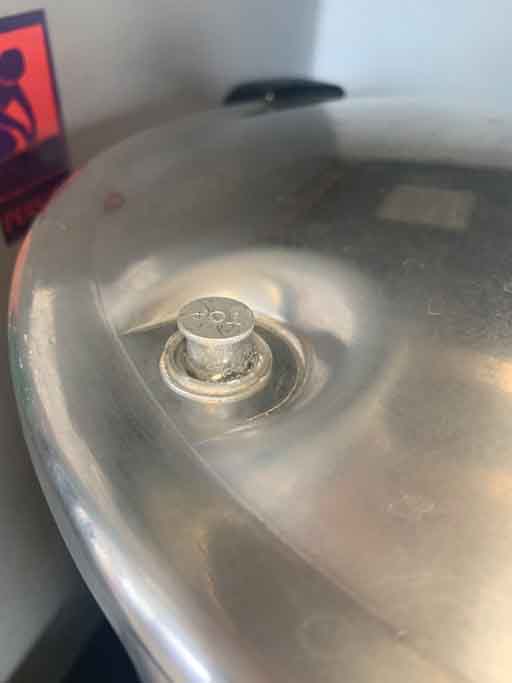
- Check the tiny vent isn’t blocked.
- Make sure the rubber stopper is in.
- Pour in 3 to 5 quarts of cool water into the canner (water should be the same temperature approximately as the jars). It should be about 2-3 inches deep.

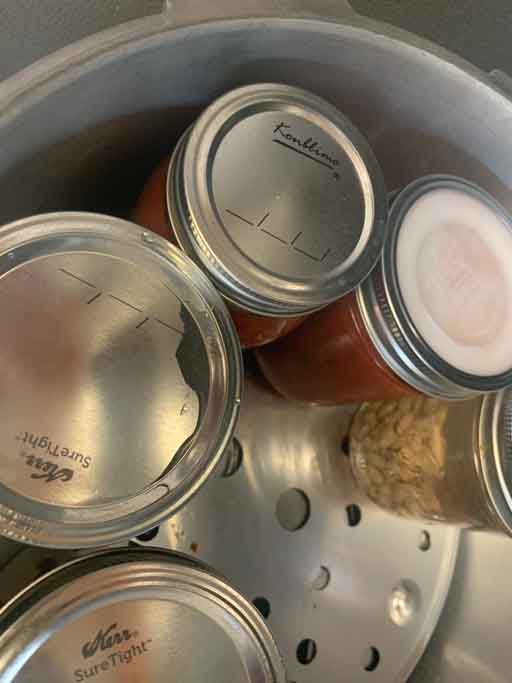
- Fill the canner with the jars of food.
- Lock the lid.
- Bring the canner to boil. This takes between 20 and 30 minutes.
- When steam starts to emit from the vent, wait until it is fairly steady, then time it for 10 minutes. Pop the jiggler onto the vent.

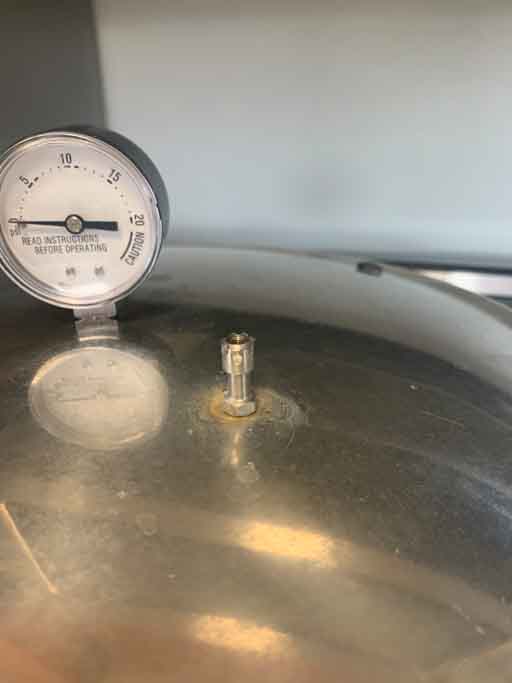
- Bring the canner to pressure. Continue to use a fairly high heat. The valve will pop up and the gauge will start to climb. This will take 10 to 20 minutes. If the valve becomes soaked in water dab it off with a cloth because it might actually be trying to pop up.
- When the gauge reaches the required pressure, (which is 11 PSI for my elevation), start the timer. For this session everything was cooked for 75 minutes.
- Check the tiny vent isn’t blocked.
-
-
-
Pressure Canning
-
-
- Set the timer (75 minutes in this case because beans are involved).
- Keep the gauge on or above 11 PSI. It doesn’t matter if it strays a little higher. You will need to check on it often. Supposedly if it drops below 11 you have to start over. Don’t let this happen.
- At the end of the time turn off the heat and walk away.
-
Depressurizing the Canner
-
-
- After 10 to 20 minutes the valve will drop. Remove the jiggler. Don’t burn your hand.

- Wait another ten minutes.
- Unlock the lid and remove it. You might want a helmet for this part. Kidding. Kind of. Don’t drip scalding water on yourself either.
- After 10 to 20 minutes the valve will drop. Remove the jiggler. Don’t burn your hand.
-
Finishing Off
-
-
- Get the jars out. Normal people use a jar lifter. I use barbecue tongs. Place your jars on a chopping board or something.


- If you are using any re-usable lids this is the point that your tighten the crap out of them.
- Walk away for a bit. Actually don’t The lid pinging is so great.
- Most people seem to leave them to cool for an hour or so before removing the bands. I don’t. I have a reason for this. Sometimes (I’ve had it happen) a failed seal will re-seal. This is not a true seal in the correct pressure environment, so I remove the bands straight away. The re-usable lids shouldn’t have the bands removed until they are room temperature which will take several hours.
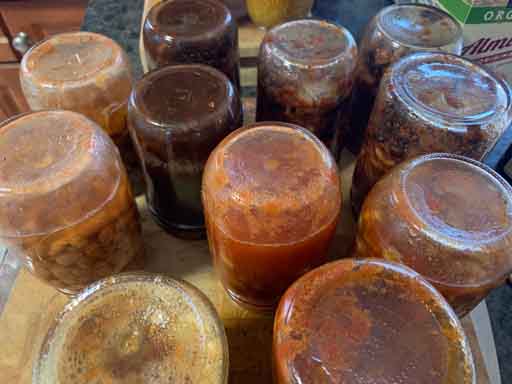
- check the lids are sealed by gently picking up the jars by the lids. Don’t try prizing them off because they will open. That’s just silly.
- Leave them sitting there over night. Usually I turn them over onto the lids. I have no idea why.
- I’ve had a few non-sealers and only two kind of near-catastrophic fails – the lids came off two jars of Bolognese and they were full of water. I turned them into stock. To be honest I was experimenting with double-lidding cheap bulk lids. Don’t do this. Cheap lids are generally fine as they are.
- Get the jars out. Normal people use a jar lifter. I use barbecue tongs. Place your jars on a chopping board or something.
-
Storage
-
- Label them with the date. I just put month and year. I write on the lids with a sharpie. The sharpie cleans off with magic marker or white board pen.
- They should be stored in a cool temperature if possible. A basement or root cellar is perfect. I think this is mainly to do with colour though.
- I guess they say the jars can be stored for up to 18 months but I know for a fact there are people out there eating 30 year old food and still here to tell the tale.